Expert Roofing Valley Flashing Solutions | Durable & Affordable Roofing
What is Roofing Valley Flashing and Why Is It Essential?
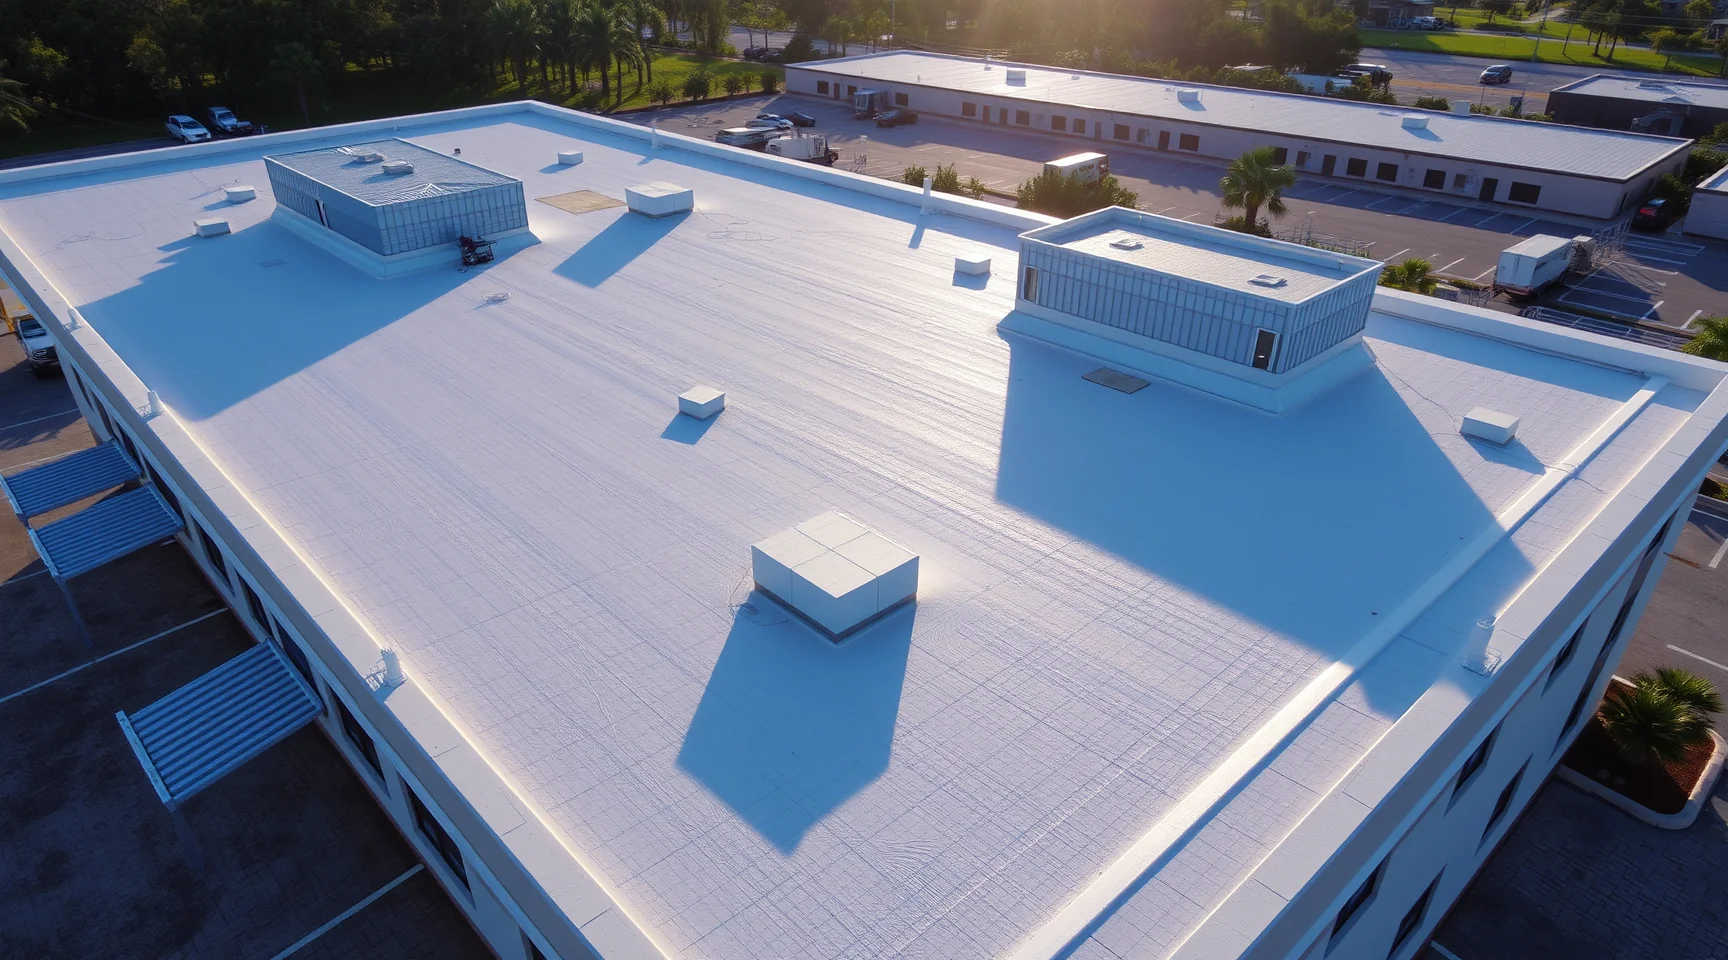
Roofing valley flashing is a critical component in the construction and maintenance of a durable roof. It is a specialized metal material installed across the valleys of a roof—where two roof planes intersect—serving as a waterproof barrier that directs water away from the vulnerable areas of your roof. Properly installed roofing valley flashing not only prevents leaks but also extends the lifespan of your roof, safeguarding your home from water damage, mold, and structural deterioration.
How Does Roofing Valley Flashing Contribute to Overall Roof Protection?
Why is waterproofing so vital in roof design?
Waterproofing is the foundation of effective roof protection. Roofing valley flashing acts as a shield against water infiltration during heavy rain, snow, or wind-driven storms. When installed correctly, it channels water into gutters and away from your home’s interior, preventing costly repairs and structural issues.
What are the common signs indicating the need for new or repaired roofing valley flashing?
Signs include visible rust or corrosion on the flashing, water stains or leaks inside your attic, and damaged or displaced flashing due to storms or aging materials. Regular inspections are critical to catch issues early.
What Are the Steps to Properly Install Roofing Valley Flashing?
How do I prepare the roof before installing valley flashing?
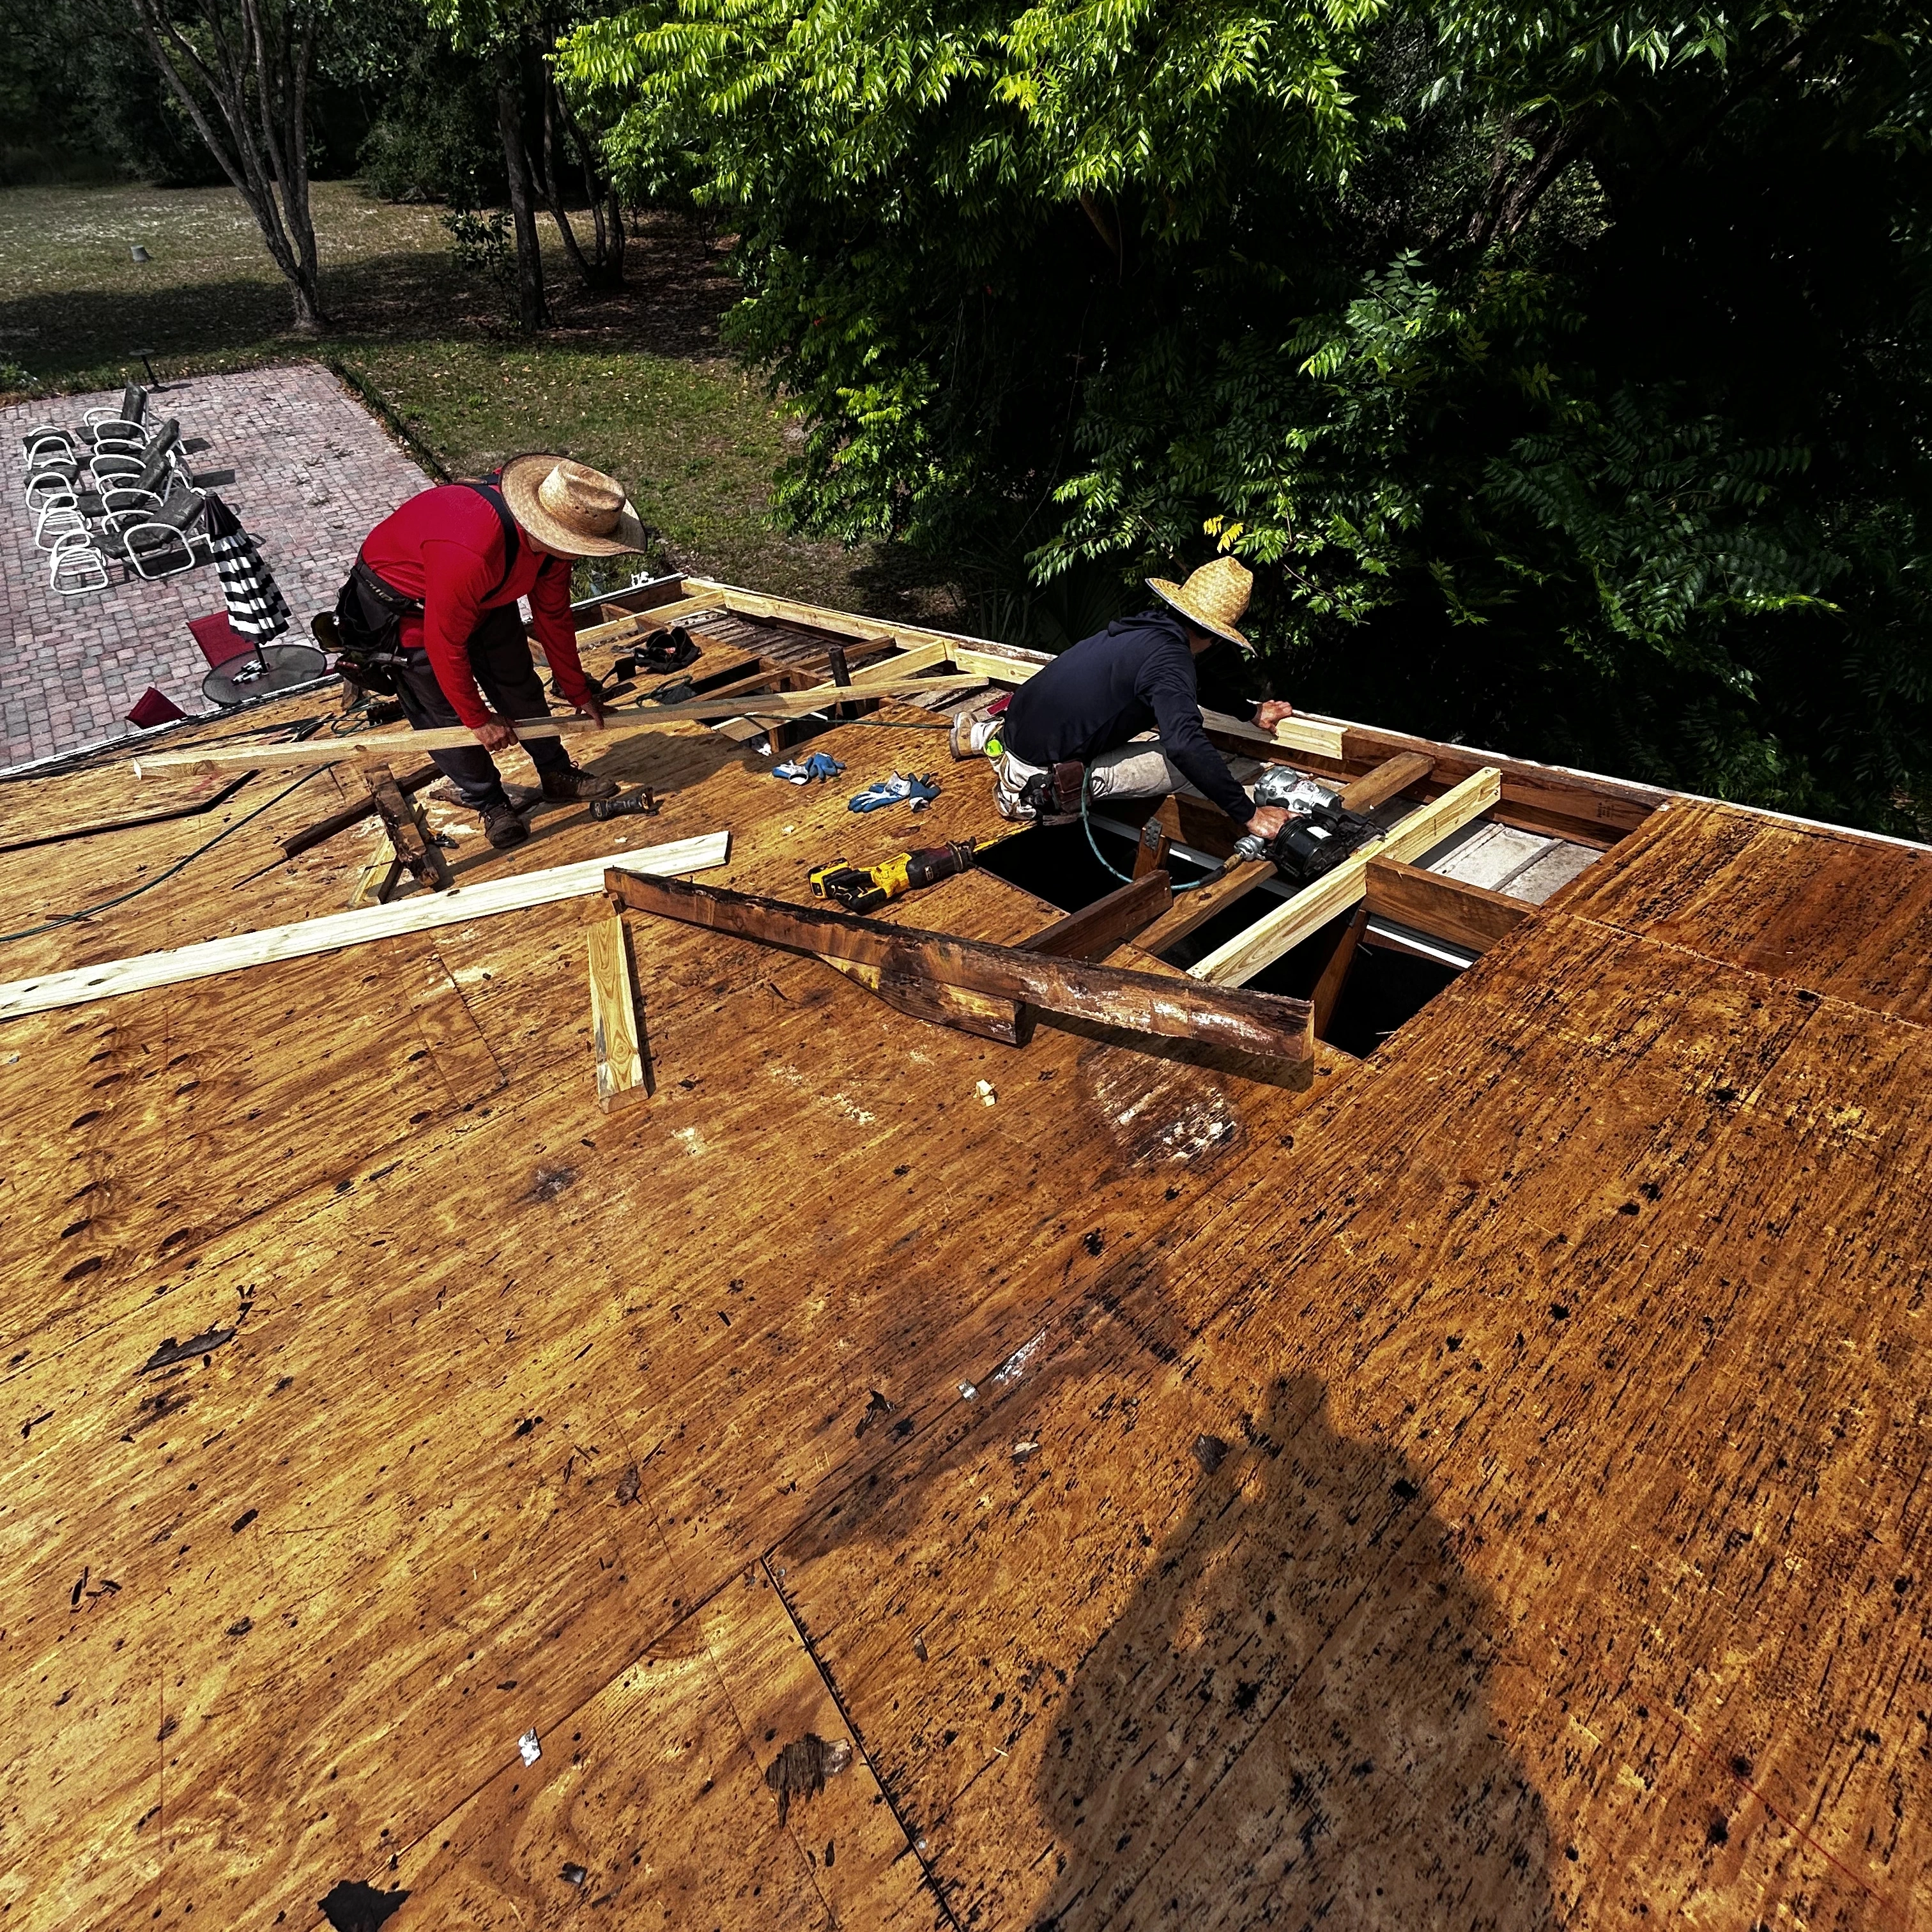
Preparation involves inspecting the roof surface for existing damage, cleaning debris, and ensuring that the underlying roof deck is sound. It’s essential to have a clean, dry surface for the flashing to adhere properly.
What materials are best suited for roofing valley flashing?
High-quality materials like aluminum, copper, or galvanized steel are preferred due to their durability, corrosion resistance, and weather adaptability. The choice depends on your climate, aesthetic preferences, and budget.
What is the step-by-step process of installing roofing valley flashing?
Measure and Cut: Align the flashing with the valley line, allowing extra length on both sides for secure fastening.
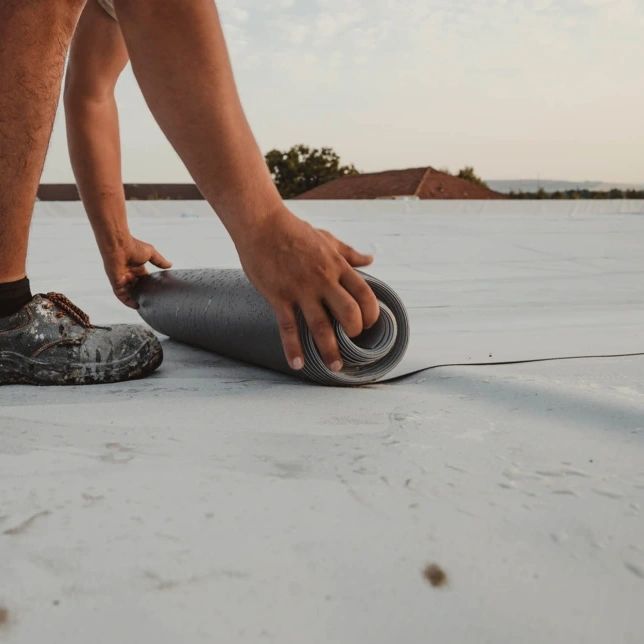
Install Underlayment: Lay roofing underlayment along the valley to add an extra layer of waterproof protection.
Position the Flashing: Secure the metal valley flashing over the underlayment, ensuring it extends beyond the valley edges for comprehensive coverage.
Fasten the Flashing: Use corrosion-resistant nails or screws, placing fasteners along the edges and at regular intervals to prevent movement or buckling.
Seal the Edges: Apply roofing cement or sealant along the edges and fastener points to ensure watertight installation.
How Do You Maintain Roofing Valley Flashing for Longevity and Performance?
What routine inspections should be performed on valley flashing?
Inspect the valley flashing at least twice a year—preferably during spring and fall—and after significant weather events. Look for signs of rust, loose fasteners, gaps, or physical damage.
How can I clean and protect roofing valley flashing?
Remove debris such as leaves, branches, or dirt that gather in the valley. Gently wash the flashing with a hose, avoiding abrasive tools that could damage the metal. Apply protective coatings if recommended, especially for copper or steel types.
When should I consider replacing or repairing roofing valley flashing?
If inspections reveal severe rust, corrosion, or physical damage that compromises waterproofing, replacement is necessary. Prompt repairs prevent minor issues from escalating into costly repairs.
What Are Common Mistakes to Avoid During Installation and Maintenance?
Using inferior materials that are prone to rust or corrosion.
Failing to properly clean and prepare the roof surface before installation.
Overlooking the importance of secure fastening and sealing.
Neglecting routine inspections and maintenance, leading to unnoticed damage.
Ignoring storm damage or physical impacts that can loosen or deform the flashing.
How Can Professional Roofing Services Enhance Your Valley Flashing Installation?
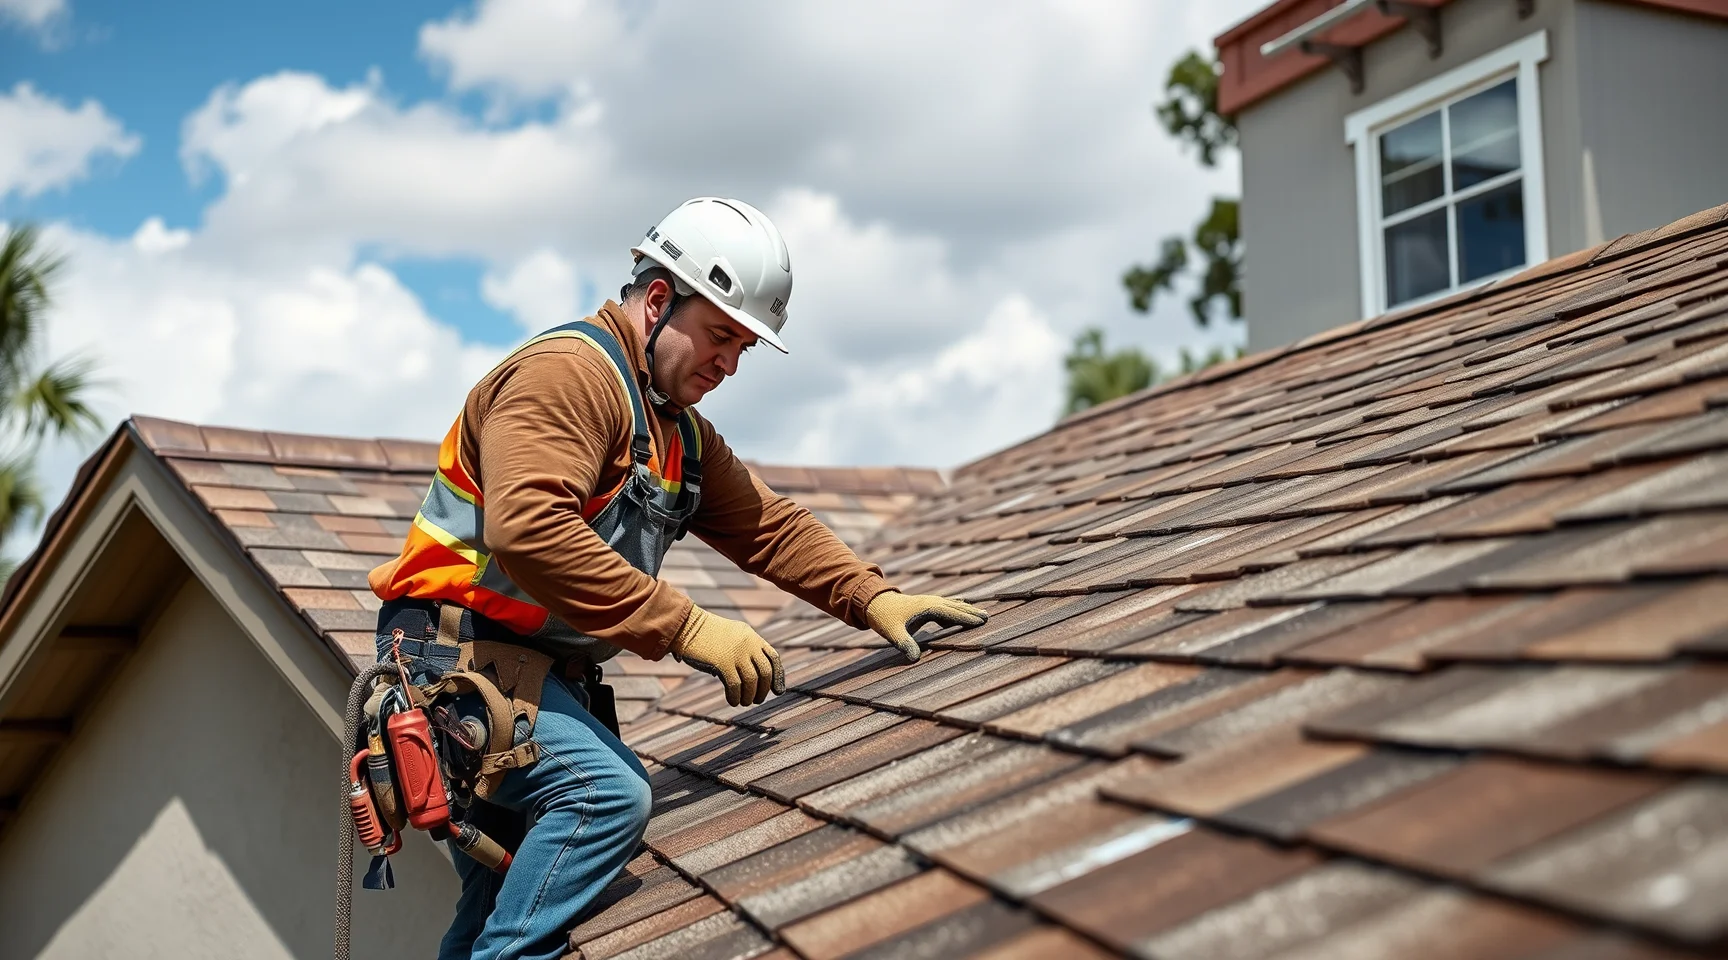
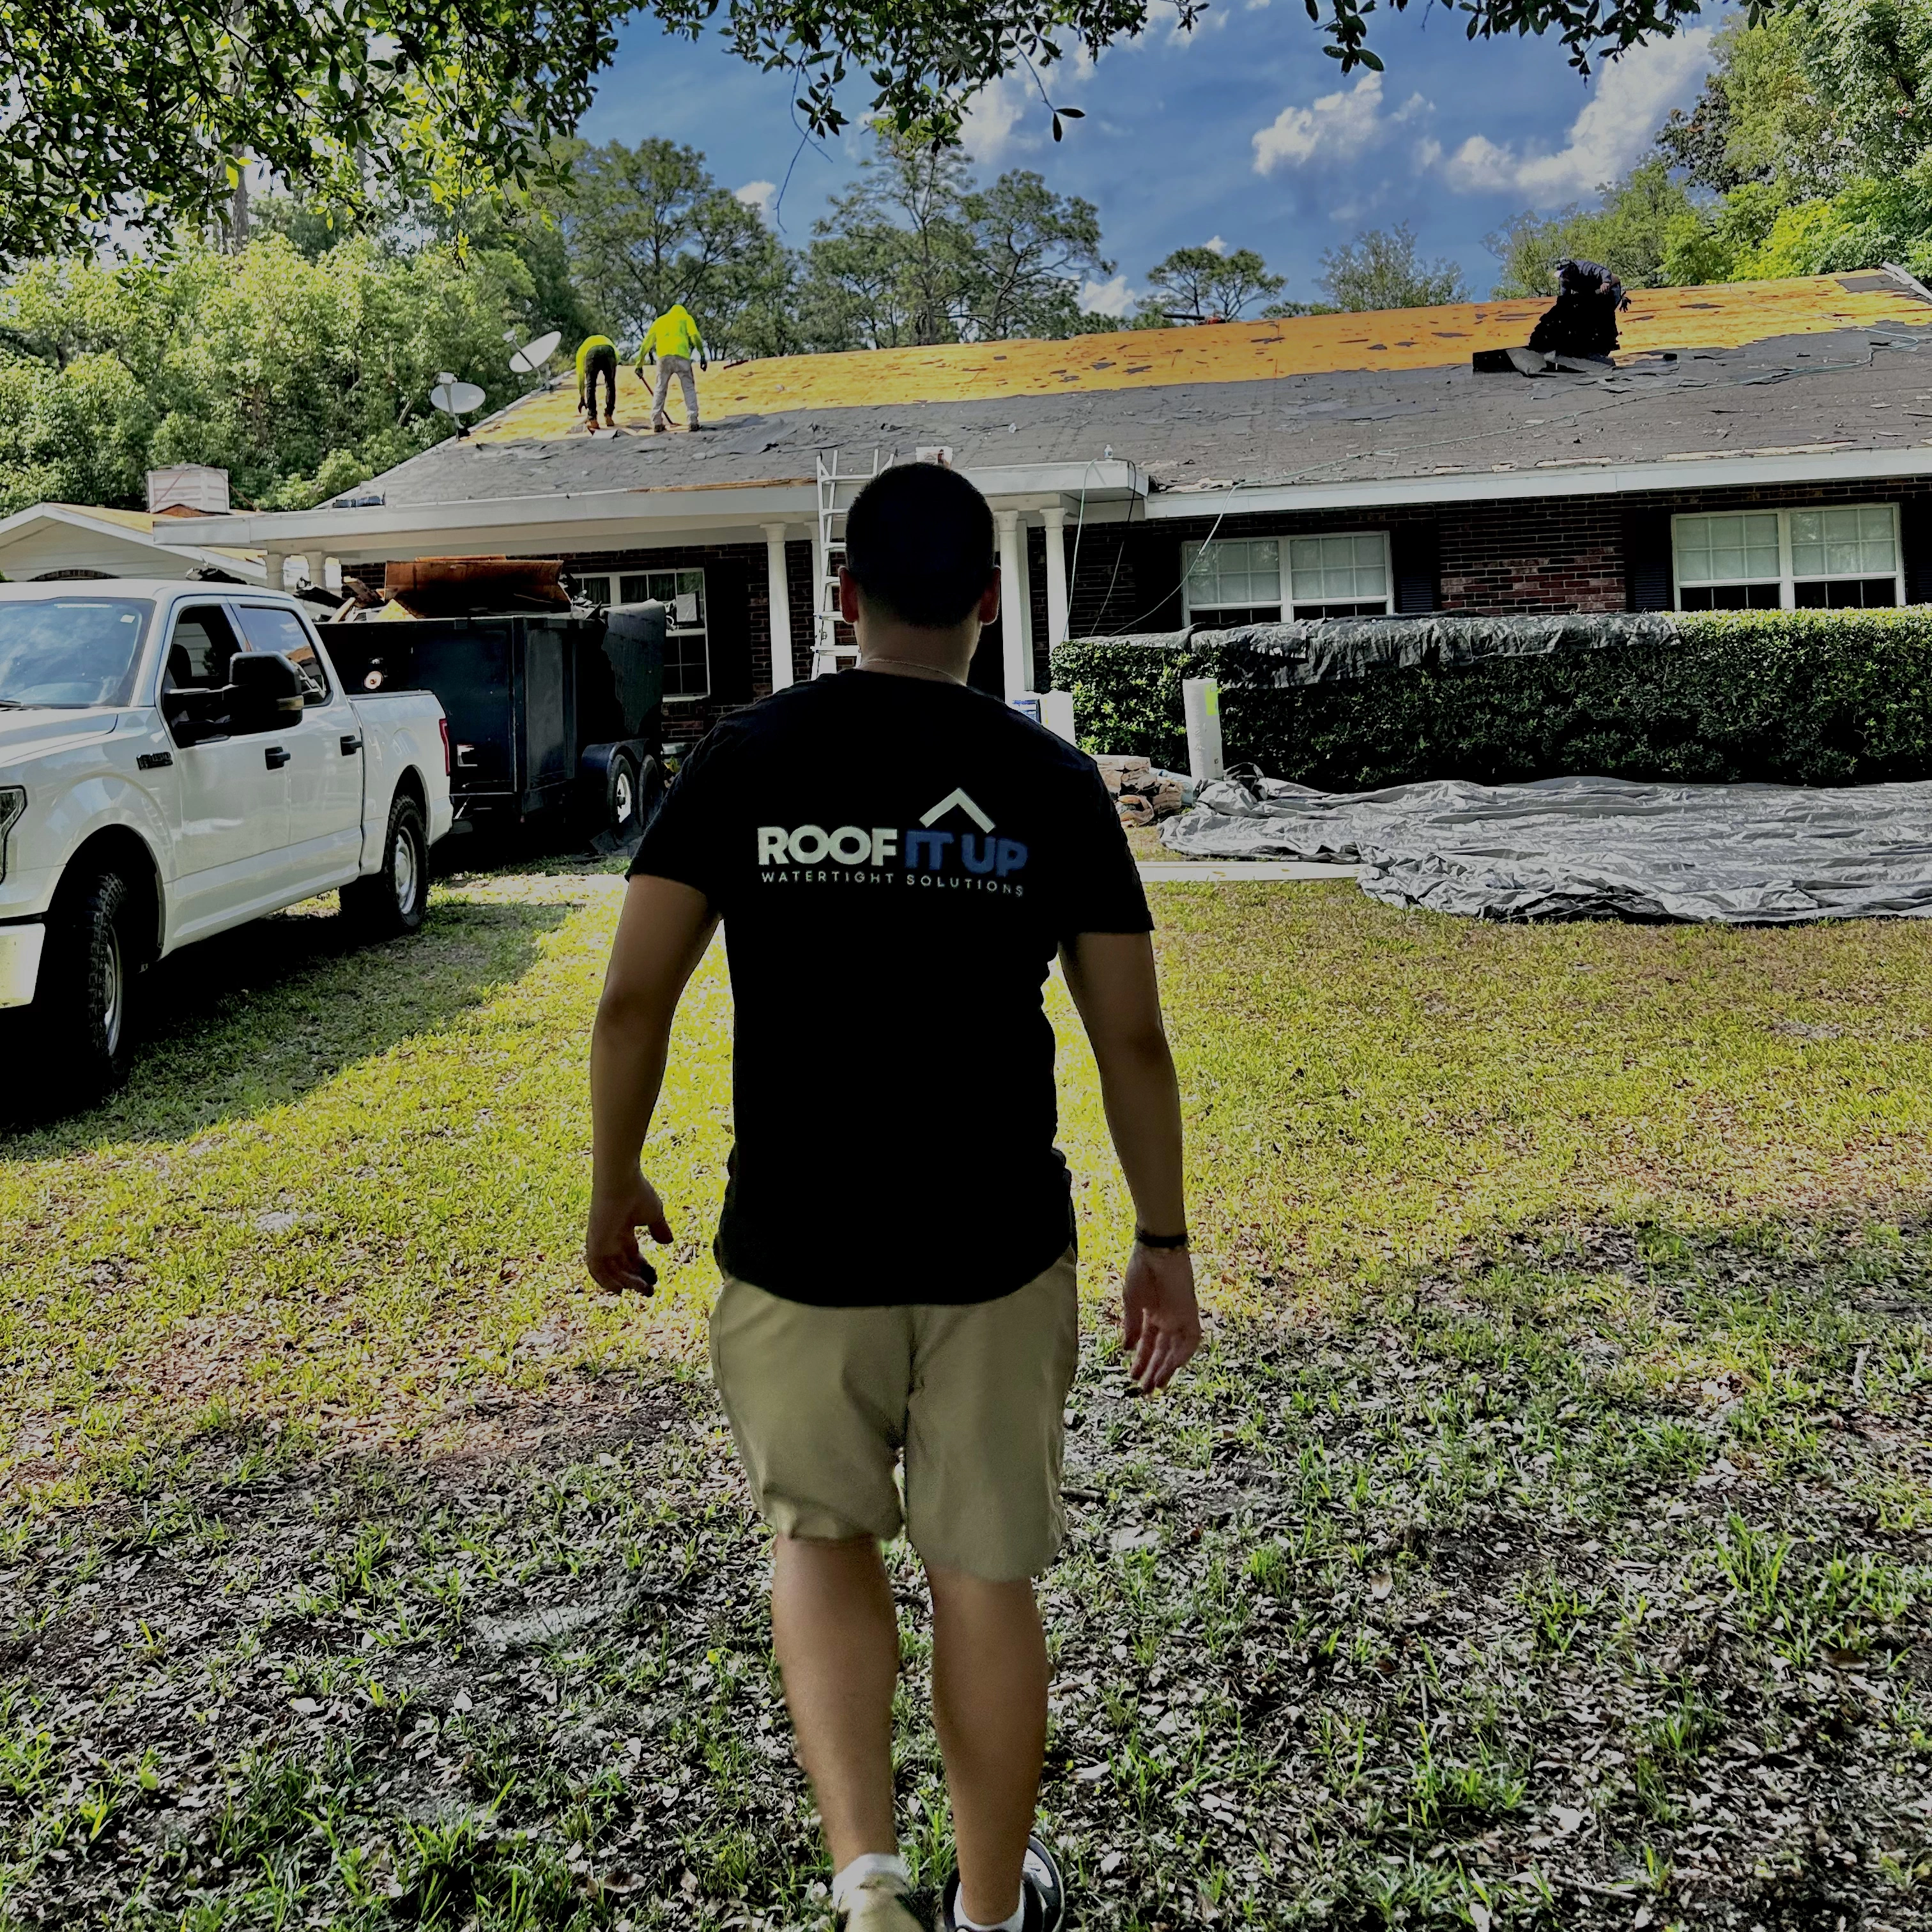
While DIY installation might seem feasible, professional roofing contractors bring expertise, the right tools, and experience to ensure that your roofing valley flashing is installed correctly and performs optimally. They can also identify hidden issues and offer preventative maintenance solutions.
For those seeking reliable, high-quality roofing work, consider consulting experienced professionals like Roof It Up to discuss your roofing needs. Our team specializes in comprehensive roof assessments and durable installations, ensuring your home's protection for years to come.
How Does Storm Damage Affect Roofing Valley Flashing?
Can storm damage compromise the integrity of valley flashing?
Yes, severe storms with high winds, hail, or falling debris can dislodge or damage valley flashing. This damage can lead to leaks and water infiltration if not inspected and repaired promptly. Regular maintenance and prompt storm damage repair are vital to maintaining roof integrity. Learn more about storm-related repairs at Storm Damage Roof Repair Services.
What Are the Benefits of Properly Installed Roofing Valley Flashing?
Enhanced Water Resistance: Proper flashing prevents water ingress and leaks.
Extended Roof Lifespan: Protective features reduce wear and tear over time.
Energy Efficiency: Insulation and waterproofing work together to improve energy retention.
Structural Integrity: Maintains the stability of your roof and underlying structure.
Cost Savings: Proactive maintenance reduces the need for extensive repairs later.
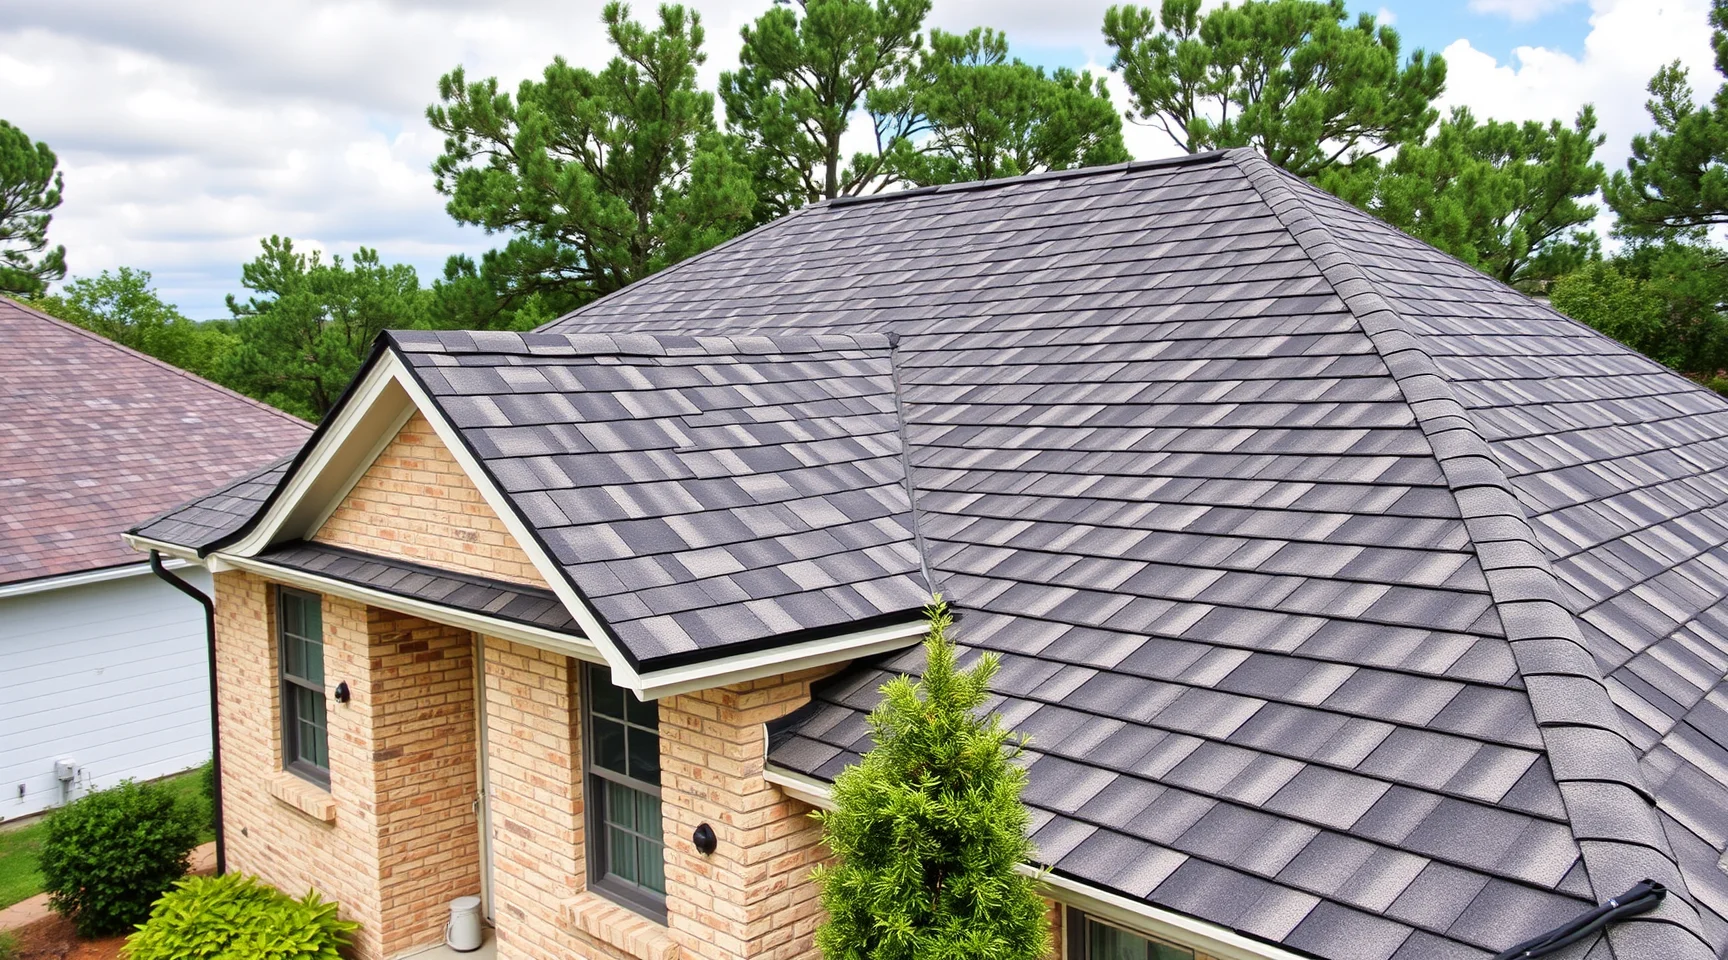
Are There Different Types of Roofing Valley Flashing Suitable for Various Roof Styles?
Absolutely. The most common types include open valleys, closed valleys, and woven valleys—each suited for different aesthetic and functional needs. Open valleys feature visible flashing and typically provide a cleaner look, while closed valleys are concealed under shingles for a neater appearance. Consult with professionals to determine the best type for your home based on roof design, weather exposure, and maintenance preferences.
Final Tips for Ensuring Optimal Roof Protection with Valley Flashing
Schedule regular roof inspections—preferably twice yearly and after storms.
Choose high-quality, weather-resistant materials suited for your climate.
Work with licensed and experienced roofing contractors for installation and repairs.
Address minor issues promptly before they escalate into major problems.
Keep gutters and valleys clear of debris to prevent water backup and damage.
Frequently Asked Questions (FAQs) About Roofing Valley Flashing
How long does roofing valley flashing typically last?
With proper installation and maintenance, roofing valley flashing can last 20-50 years, depending on the material used and environmental conditions. Regular inspections extend its lifespan and ensure ongoing performance.
Is it necessary to replace valley flashing during roof replacement?
It is highly recommended to replace valley flashing whenever a roof is replaced to ensure optimal waterproofing and prevent future leaks. Old or damaged flashing may compromise the new roofing system's integrity.
Can I install roofing valley flashing myself?
While basic DIY skills can handle minor repairs, professional installation is advised for best results. Proper techniques, materials, and safety precautions are essential to ensure a long-lasting, effective installation.
How much does a roofing contractor typically charge to install valley flashing?
Costs vary based on materials, roof size, complexity, and regional rates. It’s best to consult with local experts like Roof It Up for accurate estimates and tailored solutions.
Conclusion: Secure Your Roof with Expert Installation and Maintenance of Roofing Valley Flashing
Installing and maintaining roofing valley flashing is a vital step in safeguarding your home against water damage and structural deterioration. Proper installation techniques, high-quality materials, and routine inspections ensure your roof remains resilient through seasonal changes and weather extremes. Partnering with reputable professionals guarantees that your roofing system performs optimally, giving you peace of mind and long-term savings.
For comprehensive guidance and expert services, contact Roof It Up. Our team is dedicated to providing durable, reliable roofing solutions designed to protect your investment for years to come.